
TL;DR: How do I photograph documents correctly?
- Minimum resolution: 300 DPI for scanning, 8 MP+ for mobile
- Lighting: Natural light, perpendicular angle (90°), no flash
- Storage: E2EE cloud (Proton Drive, Tresorit) or locally encrypted
- Delete: After verification — you don't need to keep forever
- Avoid: Shadows, tilt, reflections, low resolution, cut-off edges
A bad photo = auto-rejection. A good photo = verified in 24 hours.
Every day, millions of people submit legal documents to digital platforms: opening a bank account, registering a company, signing contracts, enrolling in KYC services, acquiring business licenses. Most don’t realize that a photo with shadows, tilt, or low resolution means automatic rejection — often without feedback.
This guide shows you the exact way to photograph or scan legal documents so they pass automated OCR (Optical Character Recognition) systems and human review.
Comparison: Scanning vs Mobile photo
| Method | Quality | Time | Cost | Best for |
|---|---|---|---|---|
| Scanner | Excellent | 10 min | €0 (if you have one) | Critical docs, sensitive data |
| Mobile + Adobe Scan | Very good | 5 min | €0–€5/month | Emergency, remote work |
| Simple mobile photo | Acceptable | 5 min | €0 | Backup only, not recommended |
Our recommendation: If you have a scanner, use it. Otherwise, Adobe Scan or Microsoft Lens (free, with built-in straightening and OCR).
Technical requirements: the numbers that matter
Resolution (DPI/Pixels)
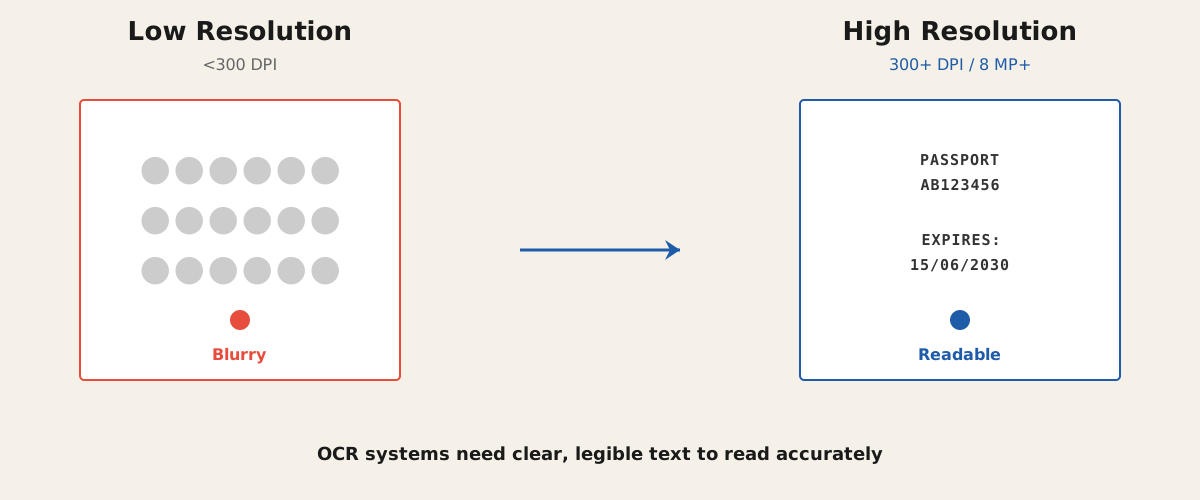
- Scanning: Minimum 300 DPI, ideally 400–600 DPI
- Mobile: Minimum 8 MP (8 megapixels), no digital zoom
- File format: PDF or PNG/JPG with low compression (quality 85%+)
Why? OCR algorithms need clear text to read. Below 300 DPI = unreadable text = automatic rejection.
Lighting
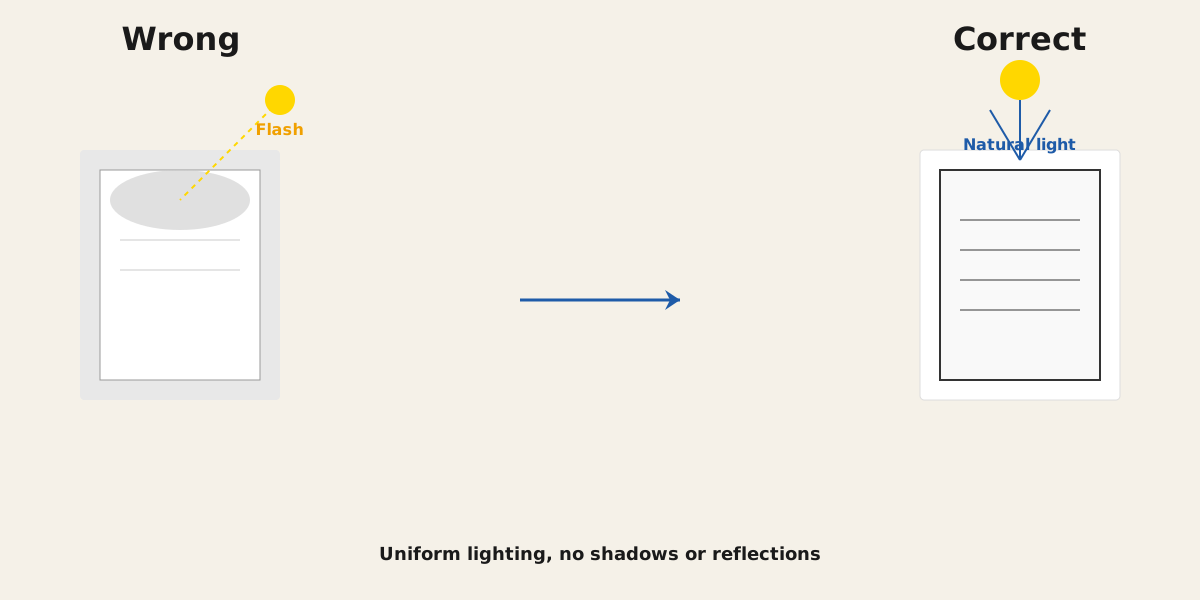
- Natural light (window or LED) — not phone flash
- Uniform across entire document — no shadow blocks
- No reflections from lamination or glass
Practical tip: Scan/photograph on a white surface (table, white paper). White background increases contrast and makes text clearer for OCR systems.
Angle and alignment
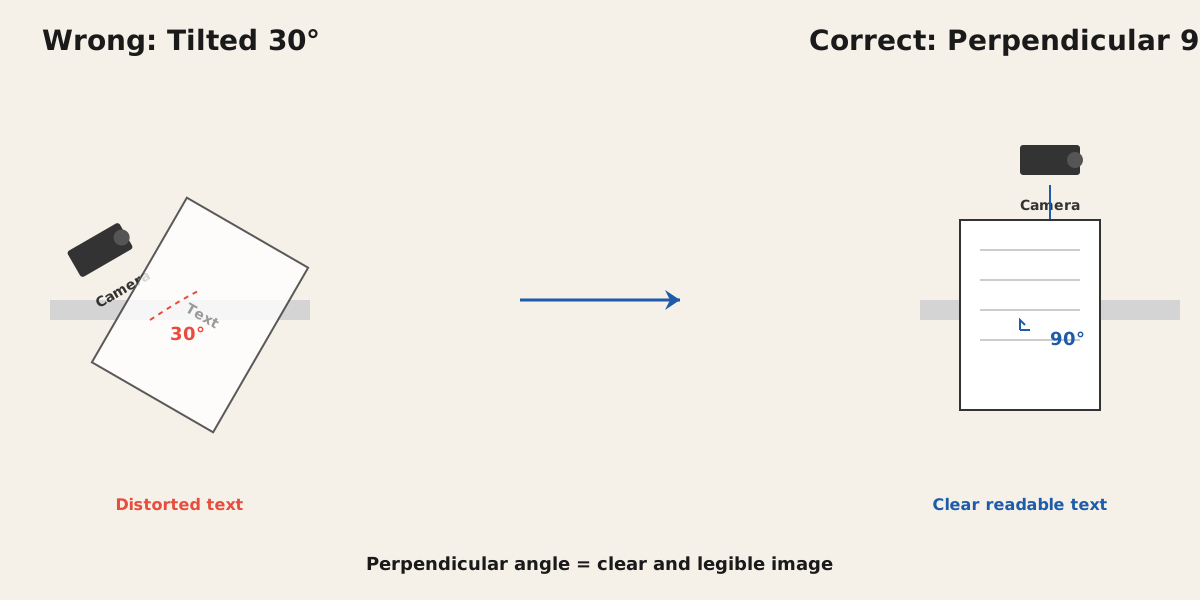
- Directly above the document (90°, not tilted)
- Entire document visible (no cut-off corners or margins)
- Camera parallel to document (no skew that distorts text)
Even a 15° tilt distorts text in ways systems can’t reliably correct.
Practical steps: Scanning vs Mobile
If you have a scanner
- Place document straight (no tilt) on scanner
- Set DPI to 300–400 (higher = larger file, not more accuracy)
- Save as PDF or PNG, no compression
- Scan both sides if there’s text on both
- Review the file — text must be completely legible
Scanner cost: €150–€300 one-time for a reliable model (HP, Canon, Fujitsu).
If using mobile
Recommendation: Adobe Scan or Microsoft Lens (both free).
Steps:
- Lighting: Open window — natural light, no flash
- Position: Hold phone perpendicular above document, on table or flat surface
- Frame: Leave white paper around document (reference for edges)
- Shoot: No digital zoom — use regular camera
- Review: Zoom in and read — if you can’t understand a word, neither will OCR
Automatic: Both Adobe Scan and Microsoft Lens auto-correct tilt and alignment.
What to avoid (common mistakes)
| Mistake | Result | How to avoid |
|---|---|---|
| Shadow across document | Unreadable text | Uniform lighting, natural light |
| 15-30° tilt | Distorted text, OCR rejection | Perpendicular angle, flat surface |
| Low resolution <300 DPI | Blur, pixelation, illegibility | Scan 300+ DPI or 8 MP+ camera |
| Phone flash | White spots hiding text | Natural light, no flash |
| Cut-off edges | Loss of critical information | Full document + thin margins |
| Upside down document | Useless file | Rotate before submitting |
| Wrinkled paper | Distorted text | Iron gently before scanning |
| Exposing name/tax ID | Security risk | Redact with whiteout if not required |
Secure storage: it doesn’t mean you can forget it
You’ve photographed your passport. Where do you store it?
Avoid
- Unencrypted cloud (OneDrive/Google Drive without encryption)
- Email as attachment
- Local files on shared computer
- Mobile without password or biometric lock
Do this
Option 1: Locally encrypted
- Windows: BitLocker or VeraCrypt
- Mac: FileVault
- Linux: LUKS
- Backup to external USB drive (also encrypted)
Option 2: Cloud with end-to-end encryption (E2EE)
| Service | Region | Key point |
|---|---|---|
| Proton Drive | Switzerland | Zero-knowledge, most secure |
| Tresorit | Europe | GDPR-compliant, enterprise |
| Sync.com | Canada | E2EE, reliable |
| OneDrive + BitLocker | Microsoft | If already on Windows |
Not recommended: Google Drive, Dropbox without extra encryption — services can see your data.
Rules:
- Password 16+ characters if not auto-encrypted
- Don’t share the file — share a secure link and revoke it
- Delete after verification — you don’t need to keep forever
Frequently asked questions
What if my document has expired? Rejection. Most systems don’t accept documents past their expiration date. Check the date before photographing.
Can I submit a document in a foreign language? Check with the service. Many OCR algorithms only support Greek and English. For other languages, they may require an official translation (translated + lawyer or certified translator stamp).
What if the document is already digital (e-signed PDF)? Don’t re-photograph it. Submit the file as-is — it retains better quality and legal validity.
How long does verification take after I submit? Usually 24–48 hours for automated processing. If there’s a quality issue, the service will request again. If you submit a perfect photo, you won’t need to re-submit.
Do I need permission from another person to submit their document? Yes. If the document belongs to someone else (e.g., co-owner, spouse), you need written permission or a power of attorney.
Related
- What are my data privacy rights? — Coming: GDPR and data security
- Trademark protection and domain disputes — Like documents need foundation, so do brands
- For systematic compliance documentation and scanning protocols for sensitive corporate records, Symbols House of Brands can develop a custom protocol.